by Adam Young | Feb 7, 2015
1. Double click on the Macintosh hard drive
2. Double click on the Applications folder
3. Double click on the Utilities folder
4. Double click on the Network Utility icon to open the Network Utility window
5. Click the Traceroute tab
6. Enter a domain in the Please enter the network address to trace an internet route to field
7. Click Start to perform the traceroute
by Adam Young | Feb 7, 2015
1. Double click the Macintosh hard drive
2. Double click the Applications folder
3. Double click the Utilities folder
4. Double click the Network Utility icon to open the Network Utility window
5. Click the Ping tab
6. Enter a domain in the Please enter the network address to ping field
by Adam Young | Jan 29, 2015
Server 2012 R2 has the following minimum system requirements
CPU: 1.4 GHz 64-bit, RAM: 512MB, HDD: 32GB, Network adapter and DVD drive (if you intend to install the operating system from DVD media)
NOTE: this article has been done with the trail version of Server 2012 R2 (downloaded from the Microsoft website) and other versions MAY install a little differently
1. Turn on the computer and insert installation media
2. Set the computer to boot from the installation media
3. If the computer already has an OS on the HDD you will need to press any key on the keyboard to boot into the installation

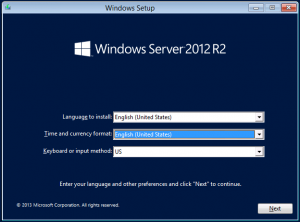
4. Select language to install, time and currency format and click next
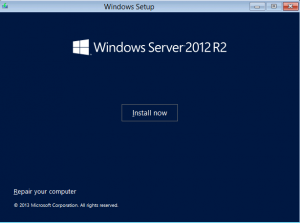
5. Click on Install now
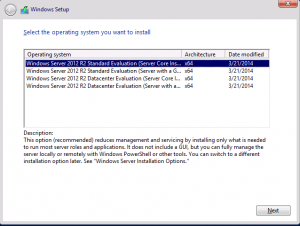
6. Select the edition of server that you want to install
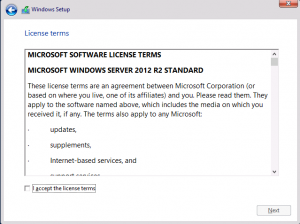
7. Read and accept the terms of use
8. Select the type of installation that you want to perform
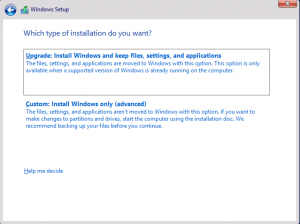
9. If you selected Custom: Install Windows only you will now need to configure your hard drive partitions
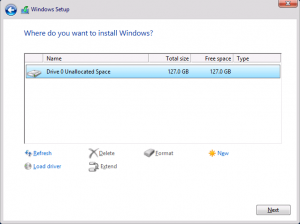
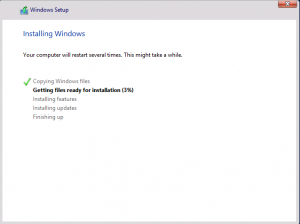
10. Now you can walk away for 5 – 20 minutes while Server 2012 R2 is being installed on your computer
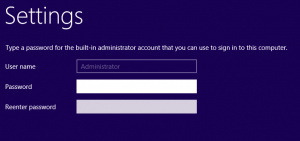
11. Once the computer has rebooted you will be asked to set the Administrator password
12. When the computer is ready for you to use you will see the default Ctrl Alt Delete logon screen
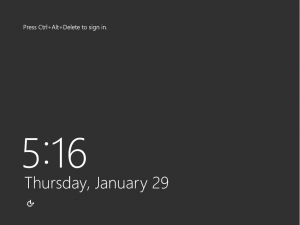
Watch Video on how to install Server 2012 R2
[jwplayer mediaid=”646″]
by Adam Young | Jan 28, 2015
1. Open the Server Manager
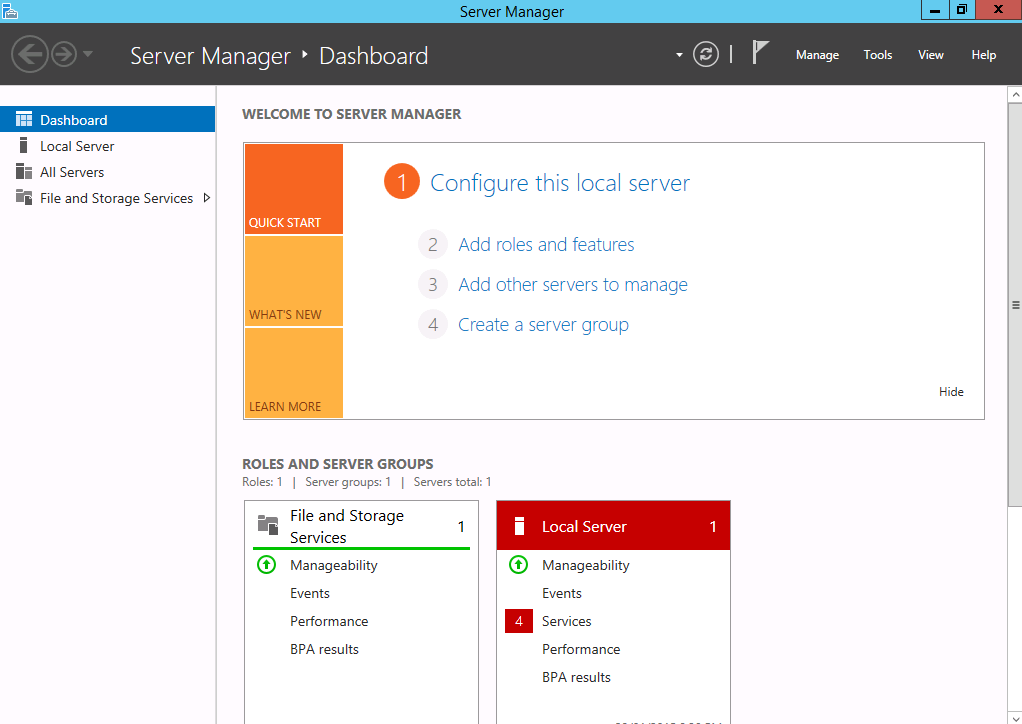
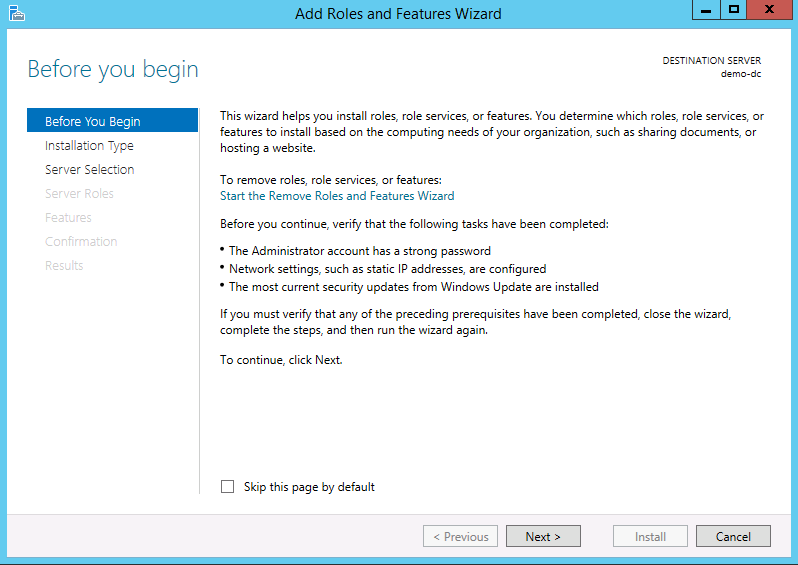
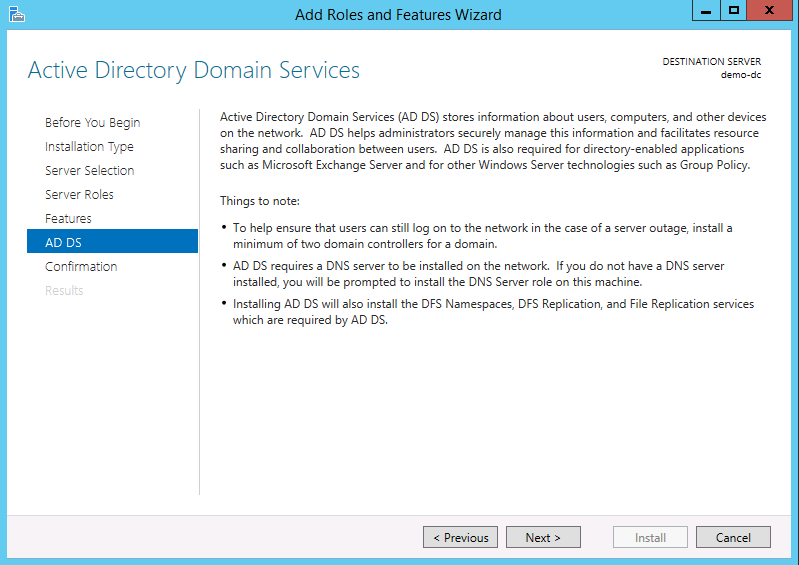
2. From Server Manager Dashboard select Add roles and features. This will launch the Roles and Features Wizard allowing for modifications to be performed on the Windows Server 2012 instance.
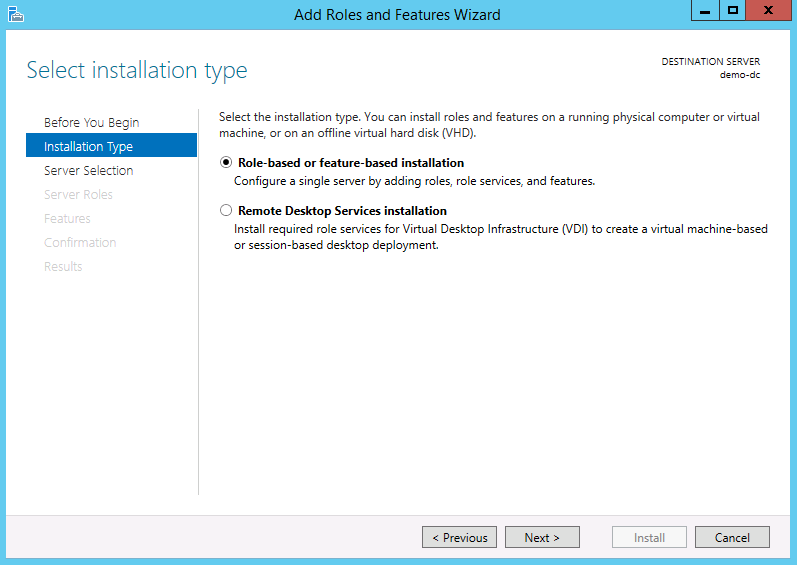
3. Select Role-based or features-based installation from the Installation Type screen and click Next
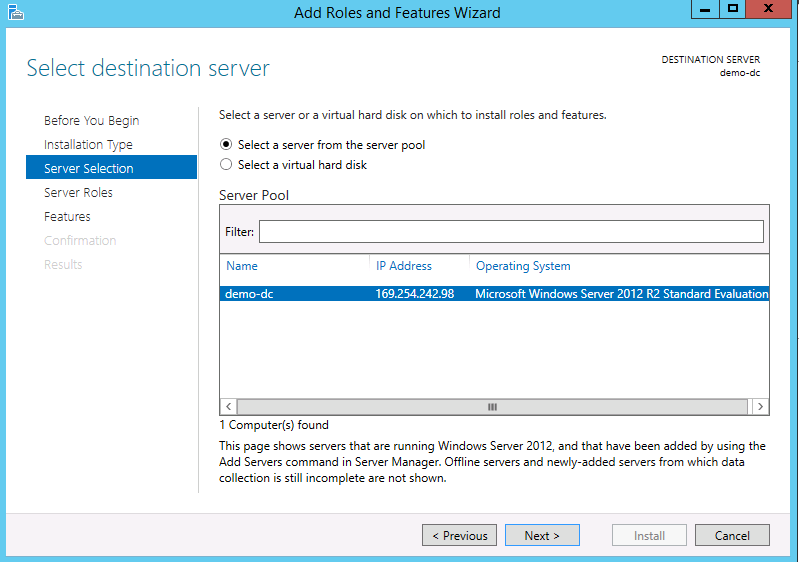
4. Select the server you want to install Active Directory on and click next
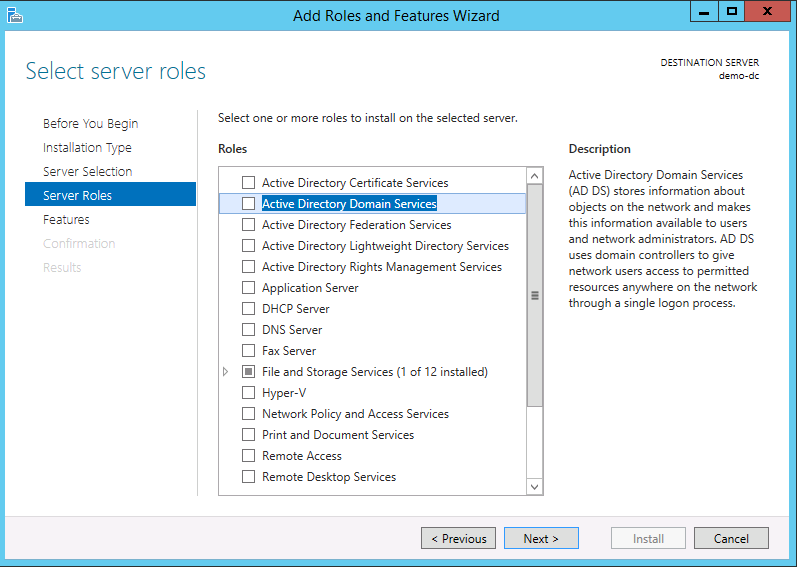
5. From the Server Roles page place a check mark in the box next to Active Directory Domain Services
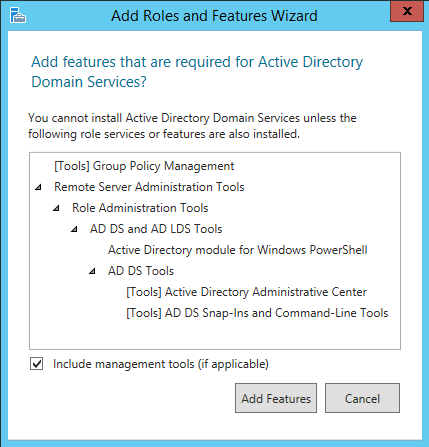
6. A popup will appear with the features required for Active Directory Domain Services click Add Features
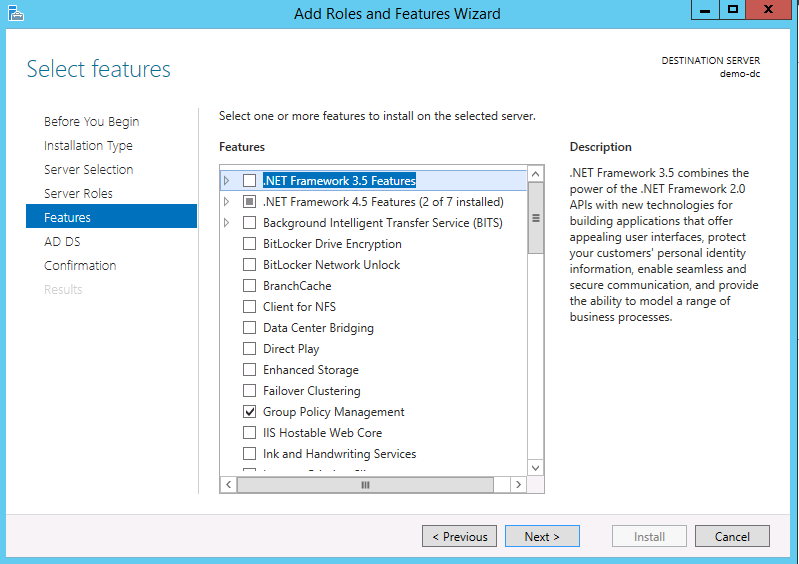
7. Review and select optional features to install during the AD DS installation by placing a check in the box next to any desired features; Once done click Next
8. Review the information on the AD DS tab and click Next.
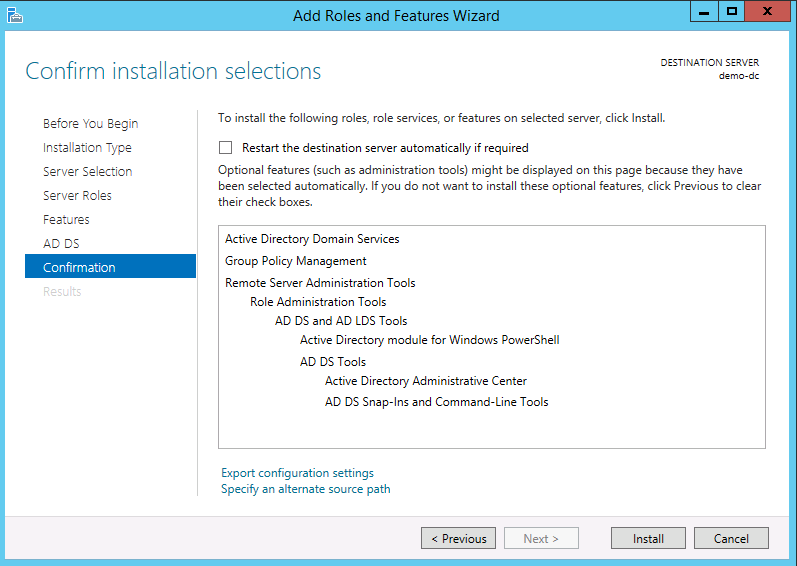
9. Review the installation and click Install
Watch Video on how to install Active Directory Domain Services in Server 2012 R2
[jwplayer mediaid=”642″]
To see how to setup Active Directory Domain Services on server 2012 please go to the next page
by Adam Young | Jan 14, 2015
Sentora Control Panel is a relatively new hosting control panel with development starting in 2014 so at this time there may not be a lot of people that know how to use the Sentora Control Panel. So we will show you how! In this article we will show you how to create distribution lists.
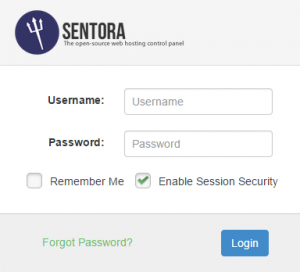
1. Log into your Sentora Control Panel
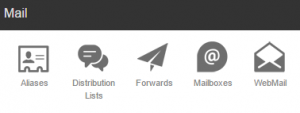
2. Click Distibution Lists which can be found under the Mail section
3. Enter the name for is distibution list then select the domain you want the list to be apart of

4 . Click Create
by Adam Young | Jan 12, 2015
Sentora Control Panel is a relatively new hosting control panel with development starting in 2014 so at this time there may not be a lot of people that know how to use the Sentora Control Panel. So we will show you how!
In this article we will show you how to create a hosting package for your clients.
1. Login to the Sentora control panel with the administrator or reseller account

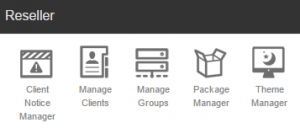
2. Click Package Manager which can be found under the reseller section
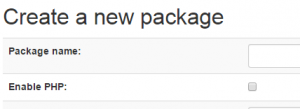
3. Enter the name for the new package
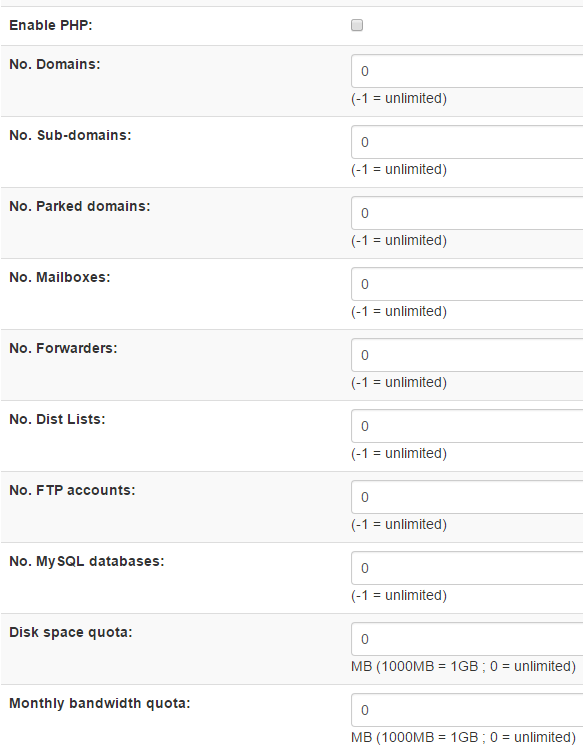
4. Configure the settings for the new package
5. Click Save to save the package making it usable

by Adam Young | Jan 12, 2015
Sentora Control Panel is a relatively new hosting control panel with development starting in 2014 so at this time there may not be a lot of people that know how to use the Sentora Control Panel. So we will show you how!
In this article we will show you how to create a new email account.
1. Log into your Sentora Control Panel

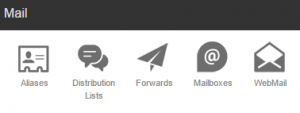
2. click Mailboxes this can be found under the mail section
3. Under Create a new mailbox enter the desired e-mail address and select the domain from the drop-down menu
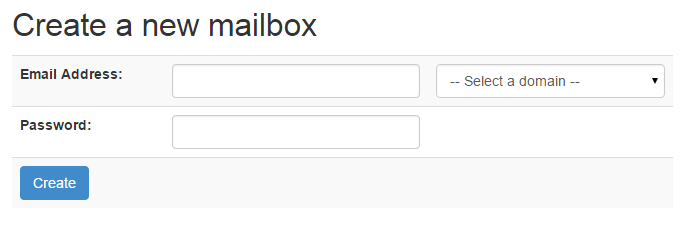
3. Enter the password that you want the new email account to have and click create
by Adam Young | Jan 12, 2015
Sentora Control Panel is a relatively new hosting control panel with development starting in 2014 so at this time there may not be a lot of people that know how to use the Sentora Control Panel. So we will show you how!
In this article we will show you how to create a new client.
1. Log into your Sentora Control Panel

2. Click Manage Clients this can be found under the Reseller section

3. Enter the username that you would like the new client to have
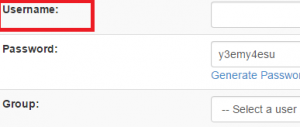
4. Enter a password or click generate password
5. Select a group for this new user to be in

6. Select the users hosting package

7. Enter the users details
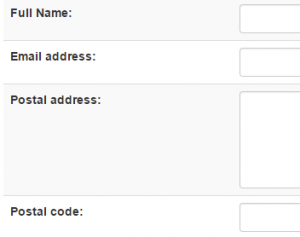
8. Check with you want to send a welcome email to the new client, enter an email subject and body if you would like it to be different to the default

9. Once done click save and the new client will be setup with their hosting account

by Adam Young | Jan 12, 2015
Sentora Control Panel is a relatively new hosting control panel with development starting in 2014 so at this time there may not be a lot of people that know how to use the Sentora Control Panel. So we will show you how!
In this article we will show you how to host your domain.
1. Log into your Sentora Control Panel

2. Click Domains under the domain management section
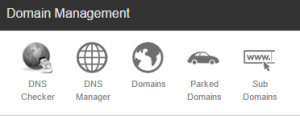
3. Under Create a new Domain enter your domain name that you want hosted on this server
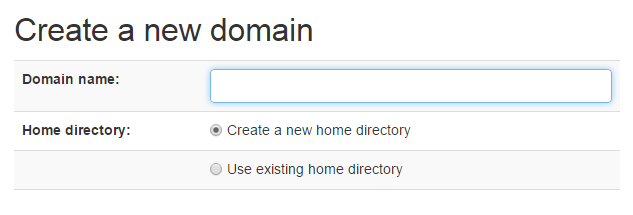
4. Click create
5. Sentora Control Panel will do all the work setting up DNS and other things for this daomin, once this work has completed your domain will show up as being Live

Note: make sure that you set the name servers with your domain registrar
by Adam Young | Jan 10, 2015
Sentora Control Panel is a relatively new hosting control panel with development starting in 2014 so at this time there may not be a lot of people that know how to use the Sentora Control Panel. So we will show you how!
In this article we will show you how to create e-mail aliases.
1. Log into your Sentora Control Panel

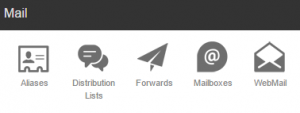
2. Click Aliases which can be found under the mail section
3. Enter the new alias name that you want, select the domain that you want the new alias to be and select the mailbox that you would like the alias to point to


