
Sentora Control Panel is a relatively new hosting control panel with development starting in 2014 so at this time there may not be a lot of people that know how to use the Sentora Control Panel. So we will show you how!
In this article we will show you how to create a new client.
1. Log into your Sentora Control Panel
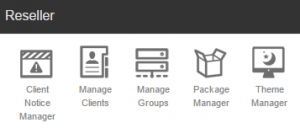
2. Click Manage Clients this can be found under the Reseller section
3. Enter the username that you would like the new client to have
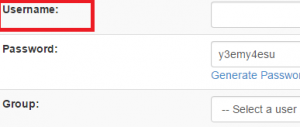
4. Enter a password or click generate password
5. Select a group for this new user to be in
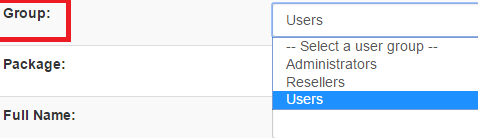
6. Select the users hosting package
![]()
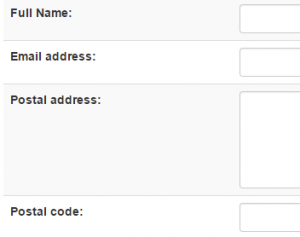
7. Enter the users details
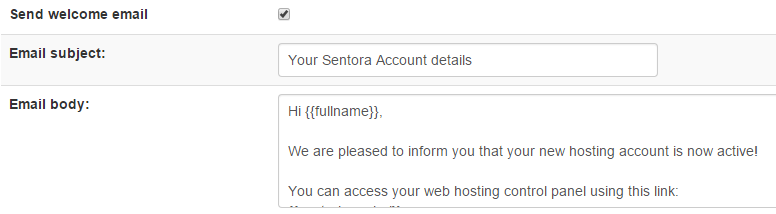
8. Check with you want to send a welcome email to the new client, enter an email subject and body if you would like it to be different to the default
9. Once done click save and the new client will be setup with their hosting account
![]()