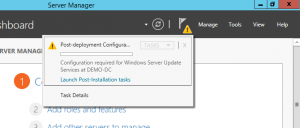
10. when installation has finished on Server Manager click “Notifications” and click on “Launch Post-installation tasks”
11. go to “Administrative Tools” and open “WSUS” when this opens you will see the first time wizard
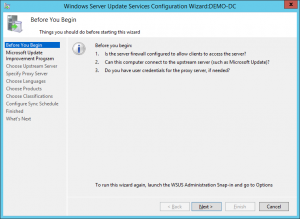
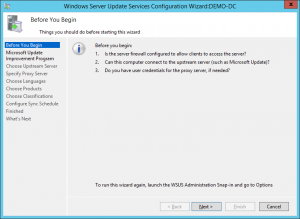
12. Click on next twice
13. As it is the 1st WSUS server on the domain select “Synchronize from Microsoft Update” after this click next again
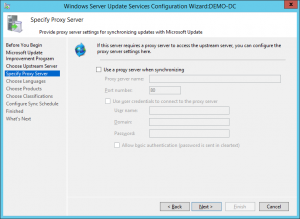
14. If your network has a proxy server to access the internet specify its settings and click next
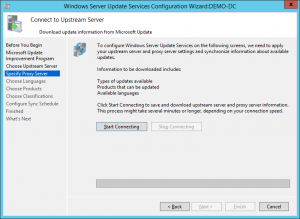
15. Click “Start Connecting” to get update information
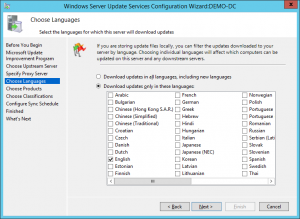
16. Select “Download updates only in these languages” and select the languages that you use in your network
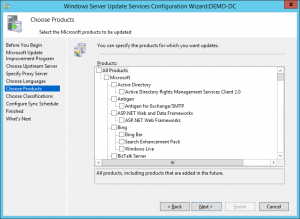
17. On the next page you can select the Microsoft products that you want the updates for to be stored locally on your network
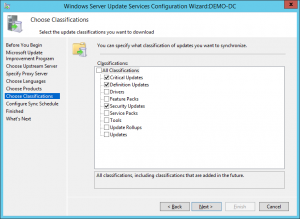
18. the classifications page allows you to select the update classifications you want to have
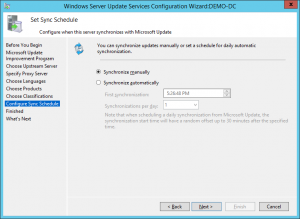
19. If you have chosen “Synchronize automatically” the WSUS server will synchronize at set intervals, set the time of the “First synchronization” and set the number of “Synchronizations per day” that you would like the server to perform
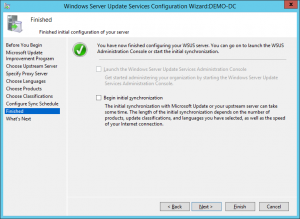
20. If you want to start pulling the updates that you have selected now check “Begin initial synchronization”. Click “Finish” to complete the configuration.
Watch Video on how to do the initial configuration
