by Adam Young | Jul 11, 2015
1. Login to your website control panel as the admin user
2. Click on “Tools & Settings” in the left panel
3. Under “Panel Appearance” click “Panel Branding”
4. Click “Choose File” and select your logo from your computer
4. Click “OK”
Your logo will now be shown instead of the standard logo
by Adam Young | Jul 11, 2015
1. login to your website control panel
2.Click on the mail tab
3. Click on the email account that you want to change its password
4. Enter the new password in the password field and reenter it in the confirm password field
5. Click on “OK” to save the change
NOTE: After you have successfully changed the password for the email account you will need to update all devices that accesses the email
by Adam Young | Jun 22, 2015
1. Log into your AWServer panel account
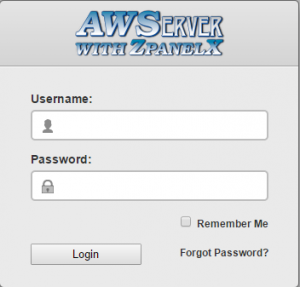
2. Click parked domains under the domain management section

3. Enter the domain name that you want to park on this server

4. Click create
Note: make sure you have setup your name servers with your domain registrar or have configured the DNS that your domain registrar has provided for you!
by Adam Young | Jun 22, 2015
1. Log into your AWServer panel account

2. Click domains under the domain management section

3. Under create new domain enter your domain name that you would like to be hosted on this server
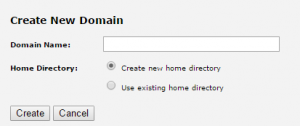
4. Click create
Note: make sure you have setup your name servers with your domain registrar or have configured the DNS that your domain registrar has provided for you!
by Adam Young | Jun 22, 2015
1. Log into your AWServer panel account

2. Click Mailboxes under the mail management section

3. Under create new mailbox enter the desired e-mail address, select the domain from the drop down menu and give the account a password

4. Once done click create
by Adam Young | Jun 22, 2015
1. Log into your AWServer panel account

2. Click Distribution Lists under the mail management section

3. Enter an e-mail address and select a domain

4. Click create
by Adam Young | May 15, 2015
1. Log into your windows 8 or 8.1 computer.
2. Go to your desktop.
3. Right click anywhere on the desktop that is blank and select personalize.
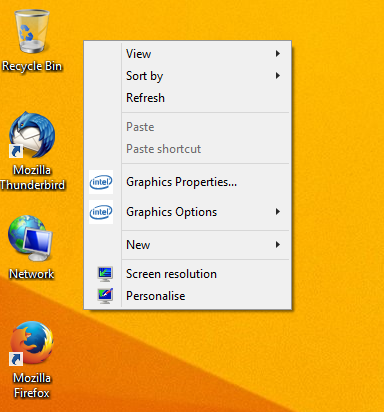
4. On the panel on the left hand side of the window click on change desktop icons.
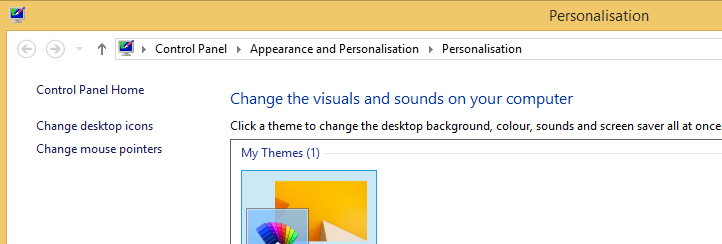
5. Select the icon that you want to be shown on your desktop and click on apply.
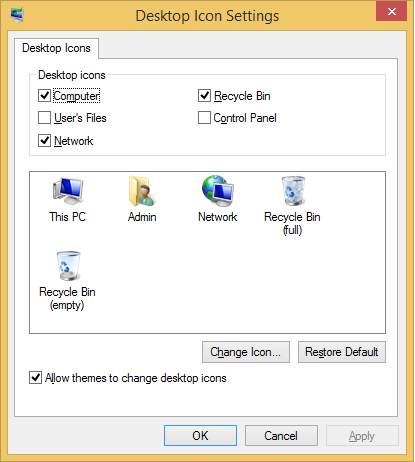
6. Click ok now you will see the icons that you have selected on your desktop.

by Adam Young | May 15, 2015
1. Log into your windows 8.1 computer.
2. Open file explorer.
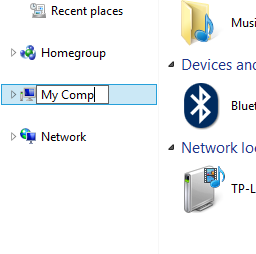
3. Right click on this pc and select rename.
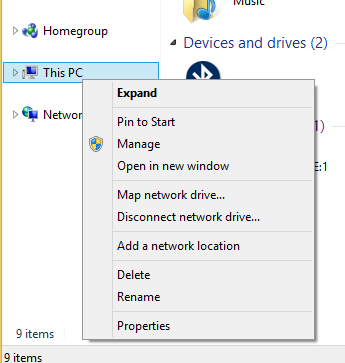
4. Enter my computer and press enter on your keyboard, its just that easy!
by Adam Young | May 15, 2015
1. Log into your windows 8 or 8.1 computer.
2. Go to your desktop.
3. Right click anywhere on the desktop that is blank and select personalize.

4. On the panel on the left hand side of the window click on change desktop icons.

5. Check recycling bin and click on apply.

6. Click ok and the recycling bin will now appear on your desktop.

by Adam Young | May 7, 2015
1. Log into the computer with a user account that has local administrator rights.
2. Open the start menu and right click on Computer.
3. Select properties.
4. Select system protection from the left hand side of the window.
5. Click configure.
6. Select “turn off system protection”
7. Click ok


