by Adam Young | Jan 10, 2015
Sentora Control Panel is a relatively new hosting control panel with development starting in 2014 so at this time there may not be a lot of people that know how to use the Sentora Control Panel. So we will show you how!
In this article we will show you how to setup mail forwarders.
1. Log into your Sentora Control Panel
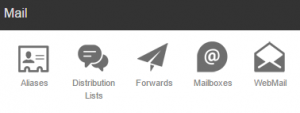
2. Click Forwards can be found under the Mail section
3. Select the E-mail address that you want the mail to be forwarded from

4. Enter the destination Address
5. Click Create
by Adam Young | Jan 9, 2015
Sentora Control Panel is a relatively new hosting control panel with development starting in 2014 so at this time there may not be a lot of people that know how to use the Sentora Control Panel. So we will show you how!
In this article we will show you how to shadow your clients in Sentora.
when shadowing your clients you can give them alot better support as you can see the control panel to their hosting account.
1. Login to the Sentora control panel with the administrator or reseller account
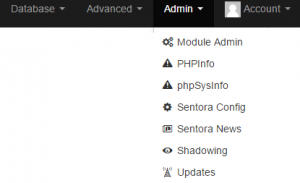
2. Click Shadowing this can be found under Server Admin menu at the top of the screen
3. Click Shadow next to the account that you want to manage.

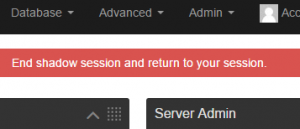
4. When you have finished shadowing your client click End shadow session and return to your session at the top of the page
by Adam Young | Jan 9, 2015
Sentora Control Panel is a relatively new hosting control panel with development starting in 2014 so at this time there may not be a lot of people that know how to use the Sentora Control Panel. So we will show you how!
In this article we will show you how to create a sub-domain.
1. Log into Sentora

2. Click Sub Domains
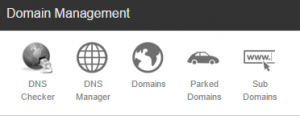
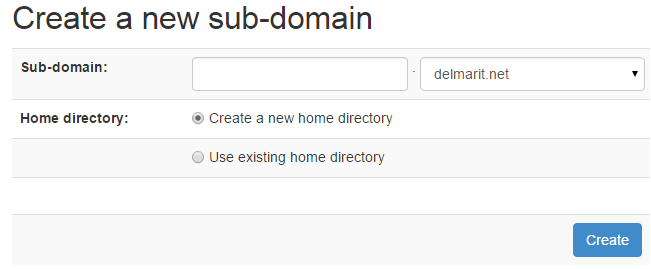
3. Enter sub-domain prefix and select the domain, create new home directory and click Create once done
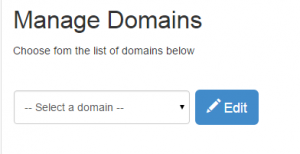
4. Go back to the home screen and click DNS manager

5. Select your domain
6. Under CNAME – You will need to add new record for the prefix of your sub domain
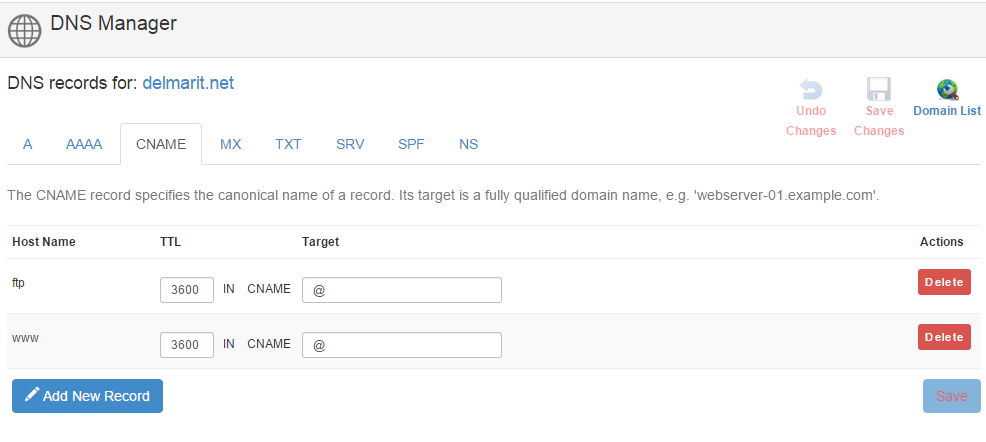
7. Then click Save Changes
by Adam Young | Jan 9, 2015
Sentora Control Panel is a relatively new hosting control panel with development starting in 2014 so at this time there may not be a lot of people that know how to use the Sentora Control Panel. So we will show you how!
In this article we will show you how to add a parked domain in the Sentora Control Panel
1. Log into Sentora

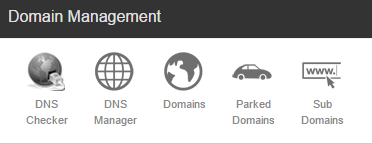
2. Click on Parked Domains which can be found under Domain Management
3. Enter the domain you want to park

4. Click CREATE
Note: Make sure you update your name servers with your domain registrar
by Adam Young | Jan 9, 2015
Sentora Control Panel is a relatively new hosting control panel with development starting in 2014 so at this time there may not be a lot of people that know how to use the Sentora Control Panel. So we will show you how!
In this article we will show you how to create a FTP account so you can upload files to your hosting account.
1. Log into Sentora

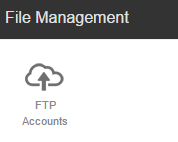
2. Click FTP Accounts
3. Enter Username and Password, Select Access Type and Home directory
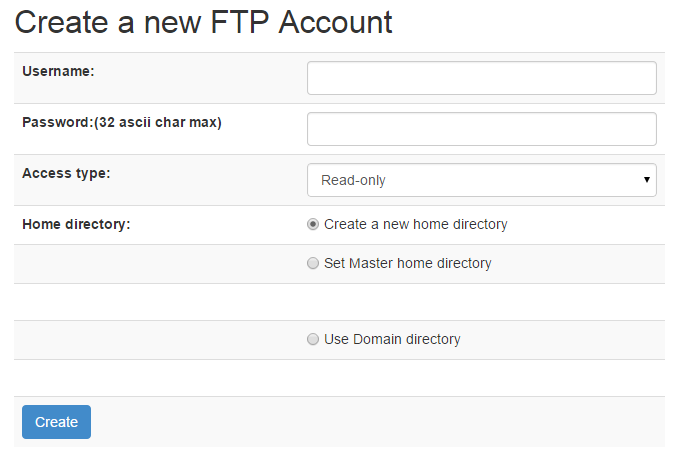
4. Click Create to create the FTP Account
by Adam Young | Jan 2, 2015
Note: This works up to Internet Explorer 10
1. Log on to your domain controller and open group policy
2. Create a new policy
3. Open the new policy and expand User Configuration > Administrative Templates > Windows Components > Internet Explorer
4. On the right pane find “Prevent performance of First Run Customize settings” and open
5. Set the vale to enabled
6. And in the drop down menu on the left select ” Go directly to home page”
7. Click Apply to save and OK to close the window
by Adam Young | Jan 1, 2015
1. Logon to your domain controller
2. Open C:\Windows\PolicyDefinitions in Windows Explorer
3. Copy the ADMX files
4. Go to \SYSVOL\domain\Policies
5. Create a new folder called PolicyDefinitions
6. Paste the ADMX files in the new folder you created
by Adam Young | Jan 1, 2015
1. Open the Start menu and right click on Computer
2. Click on Properties
3. Scroll to the bottom of the page and click on the link Change Product Key
4. Type your Windows 7 Product key into the test box and click next
5. Your computer will now connect to Microsoft’s Activation servers to activate your computer
6. If your computer has been successfully been activated, you will get the Activation was successful screen
by Adam Young | Jan 1, 2015

1. Create a new policy in GPMC by right-clicking your domain and pressing New. Name the policy No Internet.
2. Right-click No Internet and press Enforced to check it.
3. Select No Internet in the left-hand pane, select Authenticated Users under Security Filtering and press Remove, and OK to
prevent the policy from applying.
4. Using Group Policy to implement Internet Explorer settings, navigate to User Configuration / Windows Settings / Internet Explorer
Maintenance in the No Internet policy.
2. Right-click Internet Explorer Maintenance and press Preference Mode.
NOTE: If a policy is already defined, you must press Reset Browser Settings, which will reset any Internet Explorer Maintenance
Group Policy, before you press Preference Mode.
3. Navigate through Connections and double-click Proxy Settings (Preference Mode).
4. Check Enable proxy Settings, Use the same proxy server for all addresses, and Do not use proxy server for local (intranet)
addresses.
5. Type 127.0.0.1 into Address of proxy and 80 into Port.
6. Press OK.
7. Close the No Internet group Policy.
To prevent a user from changing their proxy settings, implement Disable changing proxy settings or Disable the Connections
page in the No Internet policy.
by Adam Young | Dec 30, 2014
These instructions will setup a KMS server with a Server 2008 R2 KMS key
1. Log onto https://www.microsoft.com/licensing/servicecenter/ and fetch your Server 2008 R2 KMS key
2. Bring up an elevated command prompt
3. Type slmgr /ipk xxxxx-xxxxx-xxxxx-xxxxx-xxxxx where the last section is the Key from your volume licensing website.
4. Open “Windows Firewall with Advanced Security” via Start menu -> Administrative Tools
5. Under Inbound Rules scroll down to “Key Management Service (TCP-In)”, right click and select enable
6. Reboot the server
7. Activate the Server once it has rebooted with “slmgr.vbs /ato” with an elevated command prompt
8. Enable automatic DNS publishing by the KMS host by entering “slmgr.vbs /sdns (must be in an elevated command prompt)
9. Check the DNS server to make sure that the KMS Host has been published. The KMS Host should be published under domain name > _tcp > _VLMCS


